
3.5 – Users
Contents:
- General
- User creation
- Activate two-factor authentication (2FA)
- Reset second factor (2FA) for individual users
General
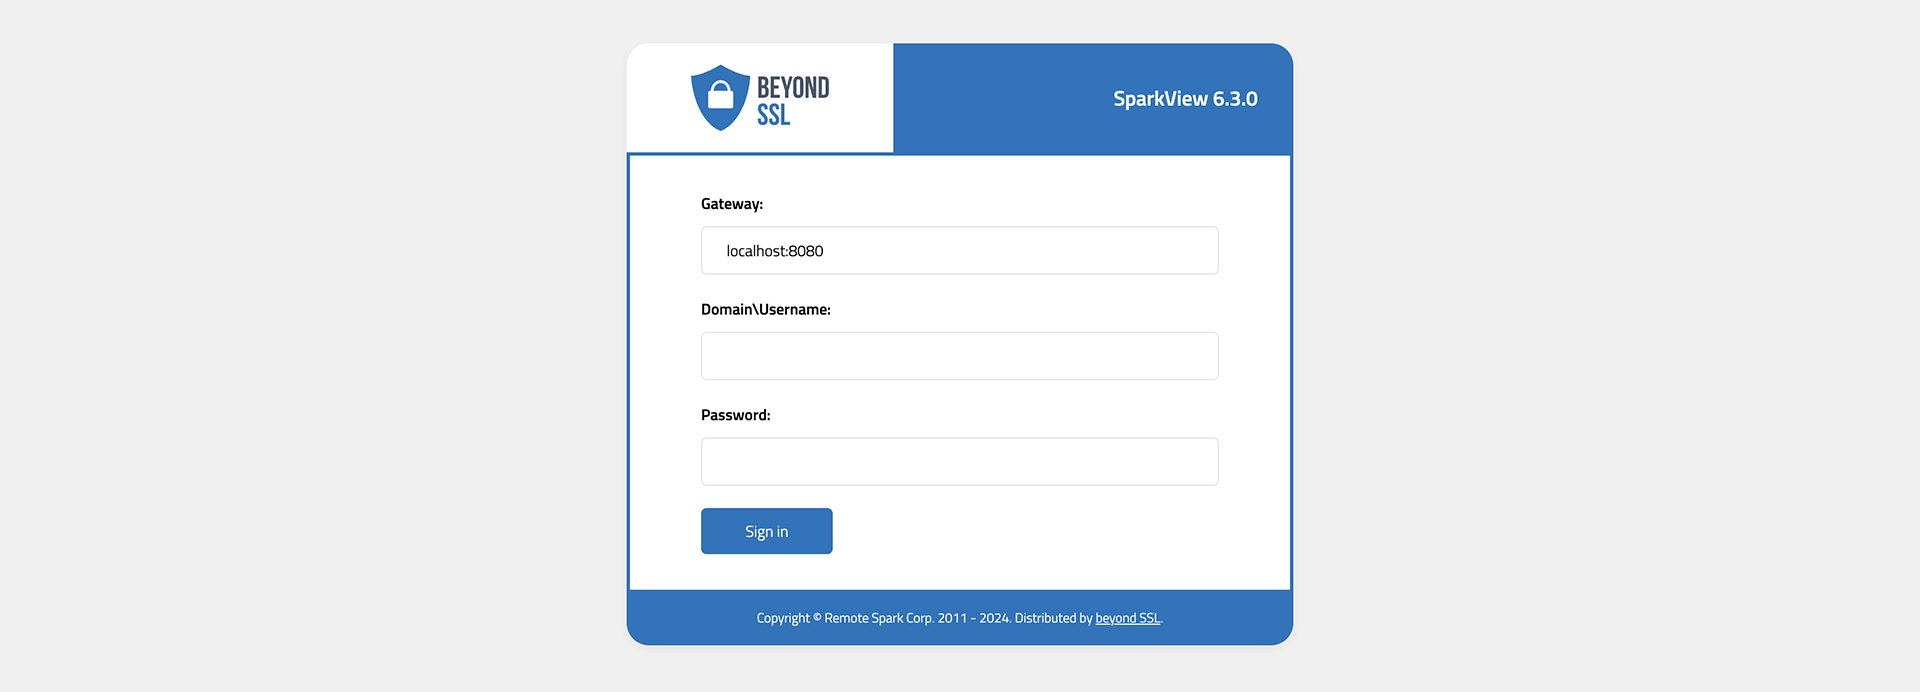
By default, users.json in the data directory is used to authenticate users and use the local user database (see below for user creation). Users must then log in to SparkView once this file exists and is in use.
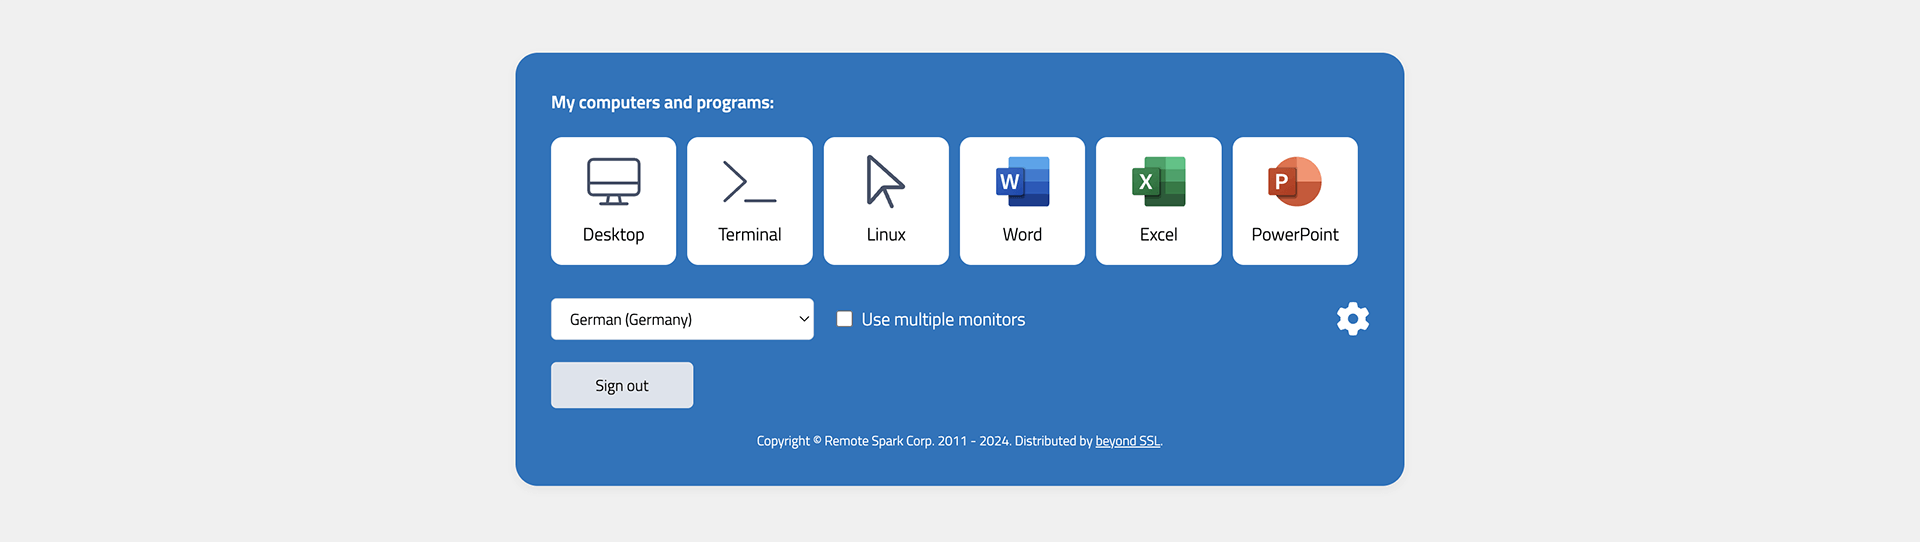
After successful login, the destinations and hosts that the user can reach using different protocols (RDP, SSH, VNC, HTTP/S, etc.) are displayed:
User creation
Local user database
You can use config.html to configure users.json. Use your browser and navigate to: http://localhost/config.html. For security reason, this page can be only accessed from localhost. The user name should be your email if you are using OpenID integration (log in with Google Account etc).
The following parameters can be stored when creating a user:
- Name
- Password
- Server, which the user is allowed to access
- Domain user (yes/no)
- Domain server and port
- LDAP security
- Forward Credentials to Connection (SSO)
- Host name (for RDP connections)
- Key file (for SSH connections)
- Password of key file
Integrate Active Directory/LDAP/RADIUS
To connect to Active Directory, LDAP, or RADIUS, use the specific instructions in Chapter 3.27.
Import from Active Directory
In addition to the normal Active Directory connection, users can also be imported and written to the users.json file. This allows you to transfer user management from Active Directory to SparkView.
To start an import, open the Users tab on the config.html page and enter the required details in the fields listed above:

Explanation of the fields:
- Username = AD user who is allowed to perform an import (e.g. the administrator)
- Password = Password of the AD user
- Domain = Domain where the users for the import are located
- OU/CN/DC = Structure where the users are located within the AD forest. If the users are located in the default user directory, the structure is as follows
CN=Users,DC=domain,DC=com. To find out in which structure a user is located, the following Powershell command can be usedGet-ADuser -Identity "username". - Group = The group in which the users you want to import are located.
- Domain Server = The URL/IP address of the Active Directory server.
- AD-Security = What encryption will be used for the connection? (e.g. SSL, TLS)
In addition, the last field can be used to assign servers to the imported users. Enter the server IDs from the Servers tab, separated by commas.
OAuth 2.0
You can also log in with Google, Yahoo etc with OAuth 2.0 integration. For OAuth 2.0 integration
- You don’t need to enter user name and password in the login.html.
- Make sure the user name in users.json is your email address (Gmail address if you are using Google account).
- The password in users.json will be ignored, so you can give any passwords to user
If you don’t need this OAuth 2.0 integration, you can remove the following part from login.html:<a href="/OPENID?id=Google"><img src="google.png" title="Sign in with Google account"/></a>
Please check Chapter 3.22 for more information about OAuth 2.0.
Activate two-factor authentication (2FA)
An authenticator app (e.g. Google Authenticator) is required for use.
- Set
twoFA=1to activate ortwoFA=2to force in gateway.conf - The user logs in to SparkView, a QR code appears
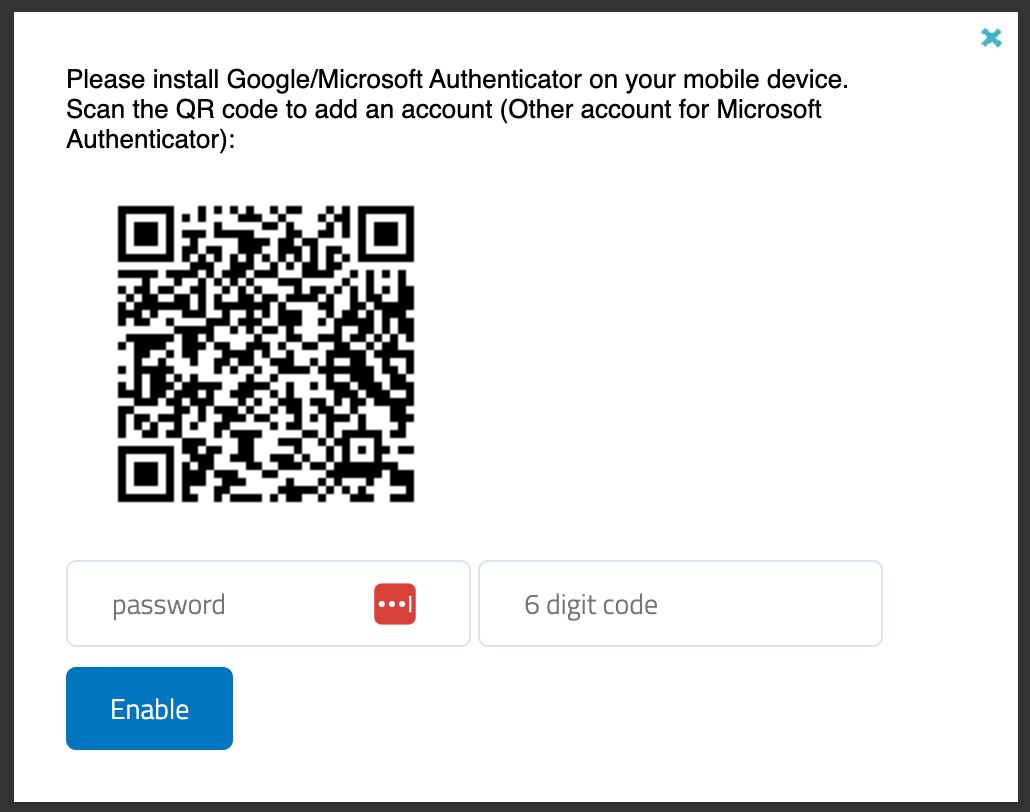
- Scan the QR code with the Authenticator app and enter the 6-digit code
Reset second factor (2FA) for individual users
There are 3 ways to reset the second factor for individual users:
Java-Command
⚠️ Attention: To reset the second factor via Java, the SparkView service must first be stopped.
Use the following command in the SparkView root directory:
sudo java -cp SparkGateway.jar com.toremote.gateway.tool.TwoFactor username
For AD users with domain, please use the following command:
sudo java -cp SparkGateway.jar com.toremote.gateway.tool.TwoFactor "domain\user.name"
For Windows users:
java -cp SparkGateway.jar com.toremote.gateway.tool.TwoFactor username

#For AD users:
java -cp SparkGateway.jar com.toremote.gateway.tool.TwoFactor "domain\user.name"
cURL-Request
⚠️ Attention: The SparkView service must be running for this.
Please use the following command:
curl -k -G --data-urlencode "target=twofa" --data-urlencode "user=username" http://sparkview-server.com/CONTROL

#For AD users:
curl -k -G --data-urlencode "target=twofa" --data-urlencode "user=domain\user.name" http://sparkview-server.com/CONTROL
HTTP request (API)
⚠️ Attention: The SparkView service must be running for this.
Please call up the following URL:
http://sparkview-server.com/CONTROL?target=twofa&user=username&gatewayPwd=21232f297a57a5a743894a0e4a801fc3